Developing a custom SAPUI5 application from start to finish involves several steps. SAPUI5 is a JavaScript-based framework for building web applications, and it’s often used in the context of SAP applications. In this article we’ll give a high-level overview on how to develop a custom SAPUI5 application. That includes also the steps that are crucial for a successful go-live.
Before we start building a SAPUI5 application, we make sure that we have the necessary tools and software installed. This typically includes:
- Node.js: SAPUI5 applications often use Node.js for development.
- SAPUI5 CLI: This command-line tool helps you to set up and manage SAPUI5 projects.
- IDE: An Integrated Development Environment (IDE) such as Visual Studio Code.
Define a New SAPUI5 Project and Data Model
We use the SAPUI5 CLI to create a new project first. Then we open the command line and run the following command to create a new project folder:
ui5 create sapui5.demo.myapp
We would have to replace “sapui5.demo.myapp” with our project name, like sapui5.salesorder.app – if we want to implement an app around the creation of sales orders. SAPUI5 projects have a specific folder structure. That means that you’ll find folders for controllers, views, models, and more. What we do next is organize our code in the following structure:
webappfolder: This is where your application code resides.controller: Contains your controller files.view: Contains XML or JavaScript views.model: Defines the data models.i18n: Internationalization files for language translations.Component.js: Main configuration file for your application.
Next, we’d have to define the data model for our application. At this stage of implementation we have to decide if we want to connect to an OData service or use a JSON model.
Views, Controllers and Routing
Following that, we can design our user interface using SAPUI5 views, which can be XML or JavaScript. At this stage we define the UI elements, layout, and navigation structure in these views. From here we focus on the controllers and routing as follows:
- Controllers: To make the views interact with the data model, we implement the controllers.
- Set Up Routing: Secondly, we configure the routing in our application to manage navigation between different views. This is essential for building single-page applications.
- Style the Application: Finally, we use CSS or SAPUI5 theming to style our application and make it visually appealing. That’s also the stage where user experience expertise is of great help.
Process of Testing, Deployment and Monitoring
Thoroughly testing the application is an essential step for a high level of end user-acceptance. For that purpose we can use QUnit for unit testing and test the application in different browsers. Once our application is ready, then we can deploy it to a web server or integrate it with the targeted SAP system, depending on the use case.
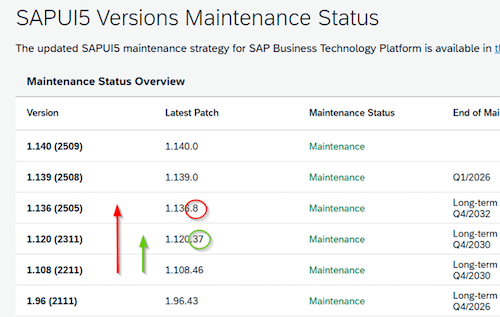
To continuously monitor and maintain the SAPUI5 application, applying updates and improvements are necessary to guarantee a stable solution to the the end users.
The final SAPUI5 application
After everything is live and used in the productive environment, we should consider documenting the application’s architecture, functionality, and codebase for future reference, and provide training or documentation for end-users if required.